


Create Your Own Custom Cheer Bows!
Bows are not included with the Transfer - Photos may be shown for project ideas only
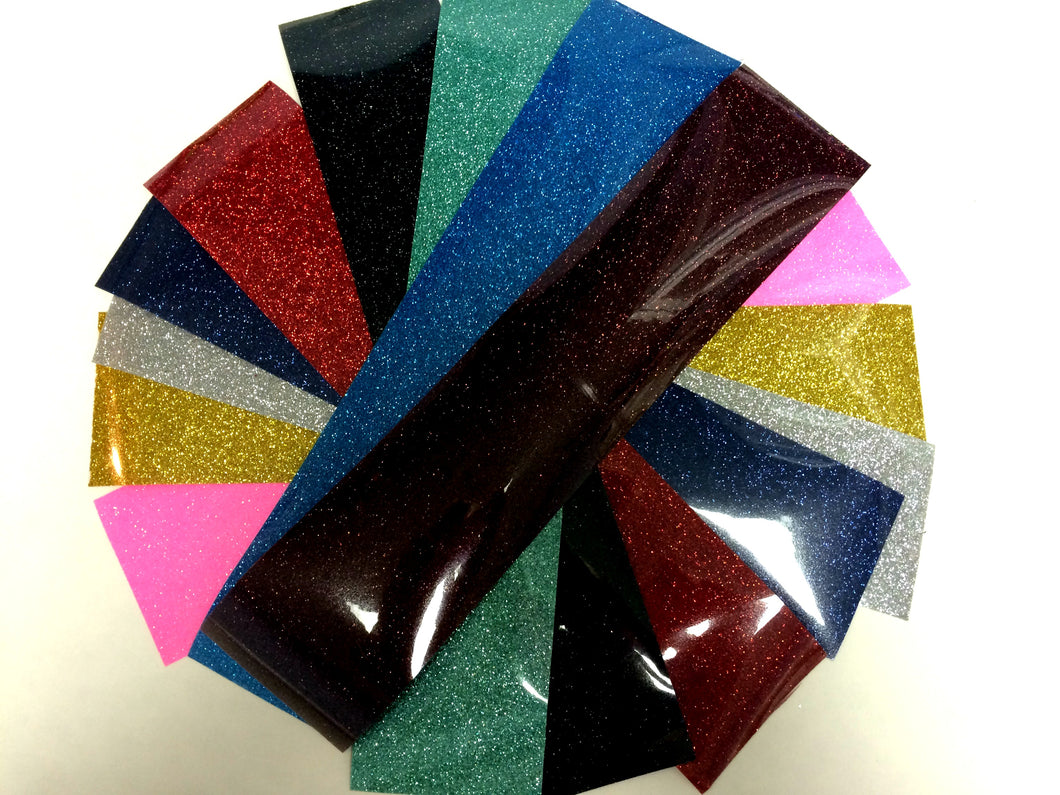
Each Strip measures : 3" W x 14" L
To cover the length of a full bow you will need 2 strips - this listing will create 1 full coverage classic cheer bow or 2 tailless cheer bows.
All Sales Are Final - Please Contact Us Prior To Purchasing With Any Questions.
Thank you!
Not Without A Bow TM
SUGGESTED – Vinyl Heat Transfer Directions
DO NOT IRON DIRECTLY ON TRANSFER DESIGN YOU MUST USE A TEFLON SHEET, PARCHMENT PAPER OR COTTON PRESSING CLOTH.
DO NOT USE STEAM – DRY IRON OR HEAT PRESS
Before attempting to apply Transfers to a fabric / product, verify labels to ensure that the item can be ironed / have heat applied.
Directions:
Begin with an ironed and dry material
Pre Heat Iron / Heat Press: Temperatures vary
Glitter or Neon: suggested is 320 degrees – Medium setting.
Gloss or Metallic: suggested is 305 degrees
If you are applying the transfer to a multi layer or thin item, it is recommended that you also place a pressing cloth between and or under the item layers to ensure that the glue from the transfer does not pass to multiple layers or your ironing surface.
Keep transfer attached to clear plastic film – This will NOT melt when ironed
Place transfer as desired
Carefully cover with a Teflon sheet or pressing cloth to ensure transfer does not move. Do not iron directly onto Transfer. WE USE AND RECOMMEND PARCHMENT PAPER
Apply iron or heat press for approximately 5-10 seconds – DO NOT MOVE IRON – Keep the iron in place over the transfer. Cool for approximately 10-20 seconds and peel away plastic film.
The above directions are a suggested method: Please keep in mind that all irons / presses vary and heat settings and pressing duration may need adjustment.
The buyer assumes responsibility for all items when applying Transfers
Not Without A Bow™